Clever Grid Guide: Solve 6×6 Shape Puzzles Systematically
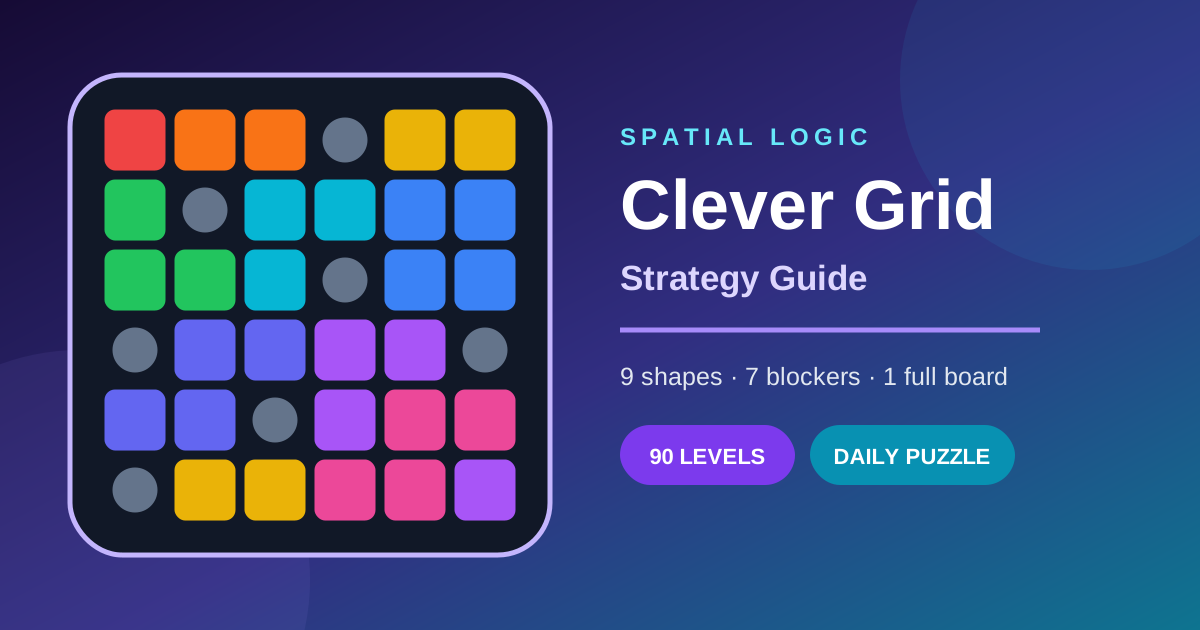
Clever Grid is a spatial packing puzzle played on a 6×6 board. Seven cells are blocked, leaving exactly 29 open cells. Your job is to rotate and reflect nine different shapes until every open cell is covered once—no overlaps, no gaps, and no piece outside the board.
Open Clever Grid and play the Beginner levels
Quick answer: how to play Clever Grid
Press Start, select a shape from the tray, rotate or reflect it if needed, then tap any open square in its intended area. The game matches a legal position in the chosen orientation, with a hover preview on computers. If several positions fit, the tapped square is tried as the top-left anchor first. Tap a placed shape to return it to the tray. A legal placement stays entirely on the board and covers neither a blocker nor another piece. Your browser remembers the last regular level; daily and friend challenges do not overwrite it. The level ends only when all nine pieces fill all open cells.
The nine shapes contain 29 unit squares in total. Together with seven blockers, they account for all 36 cells of the board. This area equation is useful: if a placement leaves a single isolated open cell but the one-cell piece has already been used, that branch cannot finish.
Where the rules come from
The documented international format
The mathematical core follows the public instructions for SmartGames’ The Genius Square: a 6×6 grid, seven blockers selected by coordinates, and nine coloured shapes that fill the remaining space. The official SmartGames product page describes the one- or two-player challenge, while the published instruction sheet specifies the board, blockers, pieces, and completion rule.
YouToStem’s Clever Grid is an independent digital adaptation. It uses an original name, visual design, deterministic level generator, three learning bands, daily puzzle, sound, hints, and share links. It is not an official SmartGames product or endorsement.
Why every generated board is solvable
Random blocker positions can easily create impossible boards. Clever Grid does not show a layout immediately after choosing seven cells. An exact-cover style backtracking solver first attempts to place every remaining shape. The layout is accepted only when a complete non-overlapping solution exists. The same level and seed reproduce the same board, which also makes friend challenges fair.
The three difficulty bands
Beginner: Levels 1–30
Beginner puzzles begin with three solution pieces locked in place. These clues divide the board into smaller regions and demonstrate useful orientations. Do not treat them as decoration: trace the edges around each locked piece and ask which unused shapes could fit the remaining pockets.
Use these levels to learn the controls and the silhouette of every piece. Notice which shapes are unchanged by reflection, which have only two useful rotations, and which corner pieces have many distinct orientations.
Intermediate: Levels 31–60
Intermediate puzzles retain one locked piece. A single clue gives an anchor but leaves much more freedom. Before placing anything, compare the clue with nearby blockers. Together they may form a forced corridor, a two-cell slot, or a corner that only one piece can occupy.
At this stage, begin checking the remaining space after every move. A piece can fit legally yet still be strategically wrong because it separates the board into components that the unused shapes cannot cover.
Advanced: Levels 61–90
Advanced puzzles begin with no locked shapes. The board offers no prescribed starting point, so constraint analysis matters. Look for corners with only one entrance, edge runs of length two or three, and small regions surrounded by blockers. Start where the fewest pieces can fit, not where the largest piece looks easiest to place.
A reliable solving routine
Step 1: mark the most constrained cells
Scan all four corners and every blocker cluster. A corner cell can only be covered by a shape extending inward. A cell between blockers may accept only a bar, domino, or the end of a corner piece. Mentally rank these cells by how many shapes could cover them.
Step 2: test scarce shapes first
The one-cell piece and domino are flexible, so they are often better saved for repairs. Long bars and asymmetric corners have fewer homes. Test them against narrow rows and board edges first. “Largest first” is not an absolute rule; “least flexible first” is more accurate.
Step 3: inspect the leftover topology
After every placement, ignore the piece you just placed and study only the empty cells. Are they still connected? Did you create a one-cell hole, a thin hook, or two separate regions? Compare the area of each region with the areas of unused pieces. A three-cell island, for example, must receive a three-cell shape or a compatible combination including the monomino.
Step 4: branch deliberately
When two placements both look plausible, choose one as a hypothesis. Remember the decision, continue until it succeeds or creates a contradiction, then undo directly to that branch. Randomly moving several unrelated pieces destroys information; controlled branching turns trial and error into deduction.
Rotation and reflection without confusion
Rotation turns a shape by 90 degrees. Reflection mirrors it. Some pieces look identical after reflection, while zigzags and corners may gain genuinely new orientations. Use this sequence:
- select the piece;
- test four rotations;
- reflect once;
- test the rotations again;
- compare its boundary with blockers and board edges.
Do not rotate only after a piece fails to fit. Preview orientations before committing. A corner may occupy the same cells with a different visual turn, but an asymmetric shape can open or close an entirely different region.
Recognising dead space early
Isolated cells
A lone open cell requires the one-cell piece. If that piece is already placed elsewhere, the position is impossible. If two isolated cells remain, the position is impossible regardless of where the monomino sits.
Unfillable corridors
A one-cell-wide corridor may appear large enough by area but reject all remaining shapes because each has a bend or width of two. Check width as well as cell count. Long bars are especially valuable for straight corridors; do not spend them casually in open central space.
Region-area mismatches
If placements split the board, total the cells in each component. Then compare those totals with combinations of unused piece areas. Area compatibility does not prove a solution, but an impossible sum proves that the branch must be undone.
How to use Hint and Undo well
Hint places one solution piece only when its answer cells are currently free. If every available answer position is blocked by your layout, the game asks you to remove a conflict instead of silently rearranging your work. This preserves the connection between action and consequence.
Use a hint diagnostically. After it appears, ask why that piece belongs there: Does it fill a rare corner? Does it preserve a corridor? Which alternative placement was misleading? Undo is most useful when it returns to a remembered branch point, not as a substitute for examining the board.
A practical improvement plan
First sessions: learn piece vocabulary
Play several Beginner levels without timing pressure. Name pieces by function—single, domino, three-bar, small corner, square, four-bar, long corner, T, zigzag. Predict how many distinct orientations each has, then verify with the controls.
Next sessions: record contradictions
In Intermediate levels, pause whenever you undo. Classify the error: isolated cell, blocked corridor, wrong corner, or region-area mismatch. This short review builds transferable spatial habits better than immediately restarting.
Advanced sessions: reduce branching
Count major guesses rather than only seconds. An advanced solution with two deliberate branches shows more control than a faster attempt built from many random placements. Compare time only after your method is stable.
Daily and friend challenges
The Daily Challenge maps the date to a fixed level and seed, so everyone receives the same board on that date. A shared challenge URL stores the level, layout seed, completion time, and move count. It does not reveal the answer and does not require an account.
For a fair comparison, agree whether hints are allowed. Time measures execution speed, while move count reflects how much rearrangement occurred. Neither number alone proves stronger reasoning, so use both as feedback rather than a label.
Common mistakes and quick fixes
- Starting in the open centre: begin at constrained corners or blocker pockets instead.
- Using the monomino too early: save it until you know which single-cell remainder is unavoidable.
- Checking area but not shape: a six-cell region may still be impossible if it is too narrow or disconnected.
- Forgetting reflection: rotation cannot produce every orientation of an asymmetric shape.
- Moving many pieces when stuck: return to the earliest placement that created the contradiction.
- Chasing the timer: first aim for a complete, explainable solution with fewer blind branches.
Final checklist before your next move
Ask five questions: Which empty cell is most constrained? Which unused piece is least flexible? Will this move create an isolated cell? Will it divide the empty region? Have I checked both rotations and reflection? If the placement survives those tests, it is a reasoned move rather than a guess.
The puzzle becomes much easier to understand when you stop seeing nine colourful objects and start seeing constraints, connected regions, and reversible hypotheses. That is the central skill Clever Grid is designed to practise.